A loose laptop charging plug is easy to dismiss at first. You nudge the connector, the charging icon returns, and you carry on. The problem is that this “it works if I hold it just right” phase is often the moment where a small, local fault starts stressing the power circuitry on the motherboard.
Charging ports fail in predictable ways, and the earlier you spot the pattern, the more likely the repair stays simple. This guide focuses on the warning signs, what you can safely check at home, and the habits that reduce the risk of board-level damage.
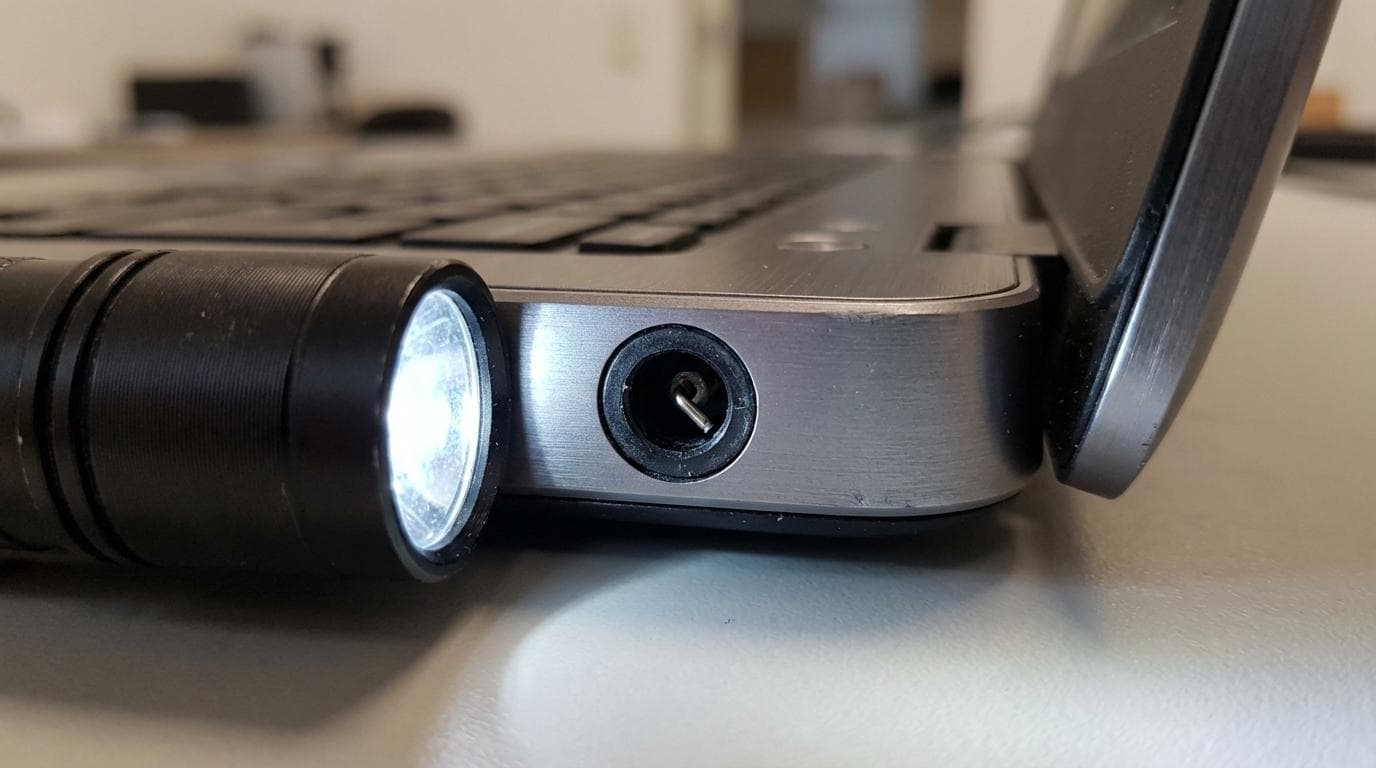
Why a loose charging port matters more than it seems
A charging connection is not just a mechanical fit. It is a high-current electrical pathway that has to stay stable while the laptop is moved, lifted, put in a bag, or used on a sofa.
When the plug is loose, the contact can “chatter”: connecting and disconnecting rapidly as the cable shifts. That can create tiny arcs, brief voltage dips, and heat at the point of contact. Over time, heat can deform plastics, weaken springs in the socket, and crack solder joints. On many designs, that damage then travels from the port to the board, taking out protective fuses, charging ICs, or input MOSFETs.
One sentence that saves devices: if the laptop only charges at an angle, stop treating it as a charging workaround and treat it as a fault.
The most common signs your charging port is failing
The symptoms usually arrive in clusters: something you can feel, something you can see, and something your operating system reports.
After you have noticed the first odd behaviour, look out for:
- Plug fit changes: wobbly connection, cord falls out too easily
- On-screen behaviour: battery icon flickers between charging and not charging
- Heat and smell: connector area warming up faster than normal
- Physical clues: bent pin, missing centre pin, blackening, corrosion, debris
- Movement sensitivity: charging cuts out when the laptop shifts on your desk
- Adapter recognition issues: “AC adapter not recognised” or “plugged in, not charging”
What is actually failing inside the laptop?
“Loose port” can mean several different failures, and the fix depends on which one you have.
Some laptops use a barrel-style DC jack soldered directly to the motherboard. If the jack’s solder joints crack, the whole socket may rock back and forth. Each movement can tear the copper pads on the board, turning a straightforward port replacement into a micro-soldering repair.
Other models mount the charging jack on a small DC-in daughterboard connected by a cable. In those cases, a port replacement can be more modular: the daughterboard is swapped, and the main board stays untouched.
USB-C adds another layer. The port is smaller, carries data as well as power, and relies on negotiation chips. A “loose” USB-C port might be mechanical wear, but it could also be a damaged USB-C controller, a fractured connector shield, or contamination inside the port stopping full insertion.
Quick triage: safe checks you can do before it gets worse
Start with checks that do not involve opening the laptop. You are aiming to rule out the charger, confirm the pattern, and avoid creating new damage during testing.
Here is a sensible order that keeps risk low:
- Known-good charger: try a compatible, known-working adapter and cable
- Torch inspection: look for bent pins, lint, or a gap between port and case
- Gentle movement test: slight tilt only, stop if you see sparking or feel heat
- System reporting: check whether the adapter is detected in BIOS/UEFI or OS
- Power source swap: try a different wall socket and a surge-protected strip
A symptom-to-risk table you can actually use
The key question is not just “can I still charge?”. It is “am I about to damage the board?”. The table below links common symptoms to likely causes and the level of urgency.
| What you notice | Likely cause | Why it matters | Sensible next step |
| Plug feels loose or falls out | Worn internal contacts or spread shell | Arcing and heat at the contact point | Stop using it loosely, book a repair assessment |
| Charging only at a certain angle | Bent pin, cracked solder joints, fractured port | Pad lift risk if you keep forcing movement | Avoid angle-charging, back up data, arrange repair |
| Port body moves with your finger | Port separating from board or chassis mount | Can tear board pads and tracks | Power down, do not charge again until checked |
| “Plugged in, not charging” | Unstable input, battery charging circuit issue | Repeated connect/disconnect stresses regulators | Verify with known-good charger, then diagnose hardware |
| USB-C feels slack, cable not fully seated | Debris, worn latch, port damage | Poor contact can heat USB-C pins quickly | Clean carefully, stop if warm, seek inspection |
| Burning smell or visible scorching | Short or sustained arcing | Risk of wider board failure | Disconnect immediately, do not retry |
“Can I fix a loose charging port myself?”
There are two very different categories: stabilising usage while you arrange a proper repair, and attempting an actual repair. The first can be sensible. The second is where many motherboards are lost.
What you can safely do:
You can reduce strain on the port by using the laptop on a stable surface, routing the cable so it does not hang, and using a right-angle adapter if it fits properly and does not introduce extra wobble. You can also replace a worn charger tip that no longer grips well.
What you should not do:
Do not wedge paper, tape, foil, or plastic into the port to “tighten” it. Do not bend the plug to force contact. Do not keep re-inserting the connector repeatedly when it cuts out. These habits turn a worn socket into a damaged board.
Actual port replacement on a motherboard usually needs full disassembly and soldering, sometimes with hot air rework and board preheating. Even when the soldering looks tidy, hidden damage like lifted pads or hairline cracks can cause intermittent faults weeks later. That is why a repair that looks minor can still call for proper tooling and inspection under magnification.
How to prevent motherboard damage while you wait for repair
If charging is intermittent, your goal is to avoid the repeated stress cycles that harm input components.
A practical rule set helps:
- Protect the data: make a fresh backup before the laptop becomes unstable
- Minimise charging sessions: charge in fewer, longer periods rather than constant reconnects
- Watch for heat: if the plug or port area warms noticeably, stop and unplug
- Avoid sleep-charging surprises: shut down when charging if behaviour is erratic
Habits that keep charging ports healthy
Charging ports last longer when they are treated like precision connectors rather than handles. Small changes in cable management make a real difference over a year of use.
A few habits worth adopting:
- Straight in, straight out: remove the plug by gripping the connector body, not the lead
- Cable support: route the cable so its weight is not pulling down on the port
- Clean environment: keep pockets and bags free of grit that can migrate into ports
- Quality power: use the correct wattage charger and a surge-protected supply
When it is a quick fix, and when it is a board repair
Some charging issues are solved quickly: a worn adapter tip, a damaged cable, compacted lint preventing full insertion, or a DC-in daughterboard that can be replaced as a unit.
The moment you see the port housing moving, missing pins, scorching, or charging that cuts out with tiny movements, the job is no longer about convenience. It becomes about protecting the motherboard, because the next failure may not be the port itself.
It is also worth remembering that symptoms can overlap. A battery nearing end-of-life can mimic “plugged in, not charging”. A charger with the wrong rating can cause unstable behaviour. Good diagnostics separate those causes before any parts are replaced.
What a professional repair process should look like
A strong repair outcome is built on three things: correct diagnosis, correct part, correct workmanship.
In practice, that means verifying adapter output, checking for play in the port, inspecting solder joints or connector seating, and confirming stable charge current after repair under realistic movement. On USB-C systems, it can also mean checking negotiation behaviour and ensuring the port has not overheated and damaged surrounding components.
RevivaTech’s approach is geared towards this sort of controlled, workshop-grade repair: in-house technicians, manufacturer-level tools, genuine parts where applicable, transparent estimates with fixed labour pricing, and a 12-month repair warranty. For many customers in Bournemouth, Dorset, and across the UK via mail-in service, the biggest advantage is speed with clarity: you get a clear view of what is failing, what it will take to fix, and how quickly you can rely on the laptop again, including same-day and emergency options on many repairs.
If you are currently dealing with a loose charging port, the most protective step you can take today is simple: stop angle-charging, back up your data, and get the port assessed before the fault migrates from a connector problem to a motherboard problem.
Share this article
Written by
Ronaldo Dias
Tech repair specialist and founder of RevivaTech, with years of experience in Apple, Samsung, and gaming console repairs.


